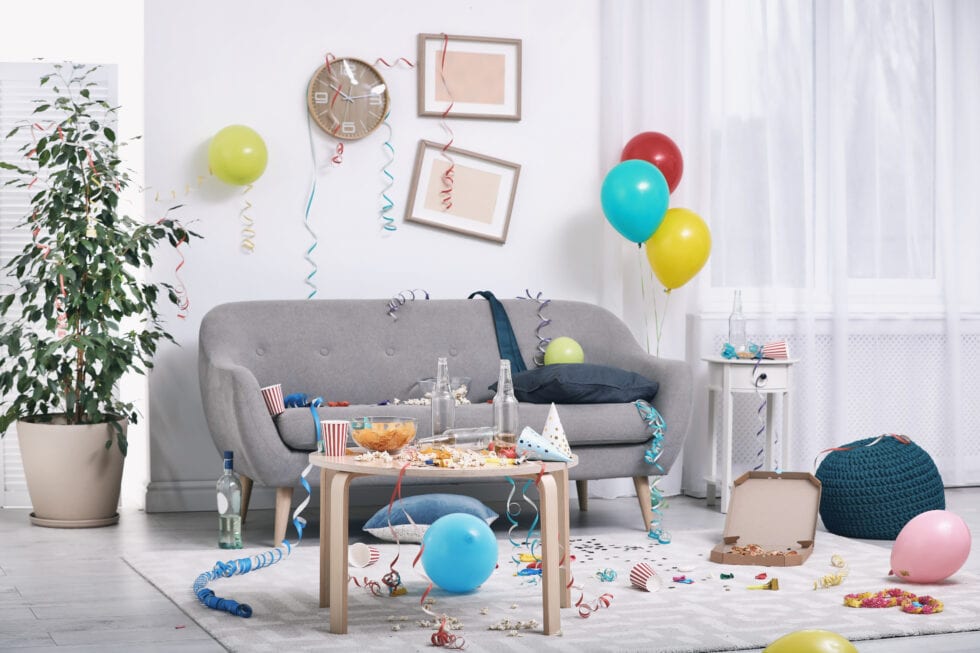
Packing Tips For Fragile Items
How to Pack Breakables So They Won’t Break: Expert Tips for a Safe Move
Introduction
Packing fragile items for a move requires extra care and attention. Whether it’s your favorite dishware or precious glass collectibles, ensuring that your breakables are packed securely is key to preventing damage. In this guide, we’ll walk you through the best practices on how to pack breakables so they won’t break during your move, keeping your cherished possessions safe.
1. Get a Head Start on Packing Fragile Items
Packing breakables can be time-consuming, so it’s best to start packing early. Once you know you’re moving, begin by packing items you won’t need in the immediate future.
Why Early Packing Helps:
- Less Stress: Packing early allows you to focus on fragile items without rushing.
- Better Organization: You can take your time to wrap and protect your most valuable possessions.
Tip: Start with seasonal items or collectibles that won’t be used before moving day.
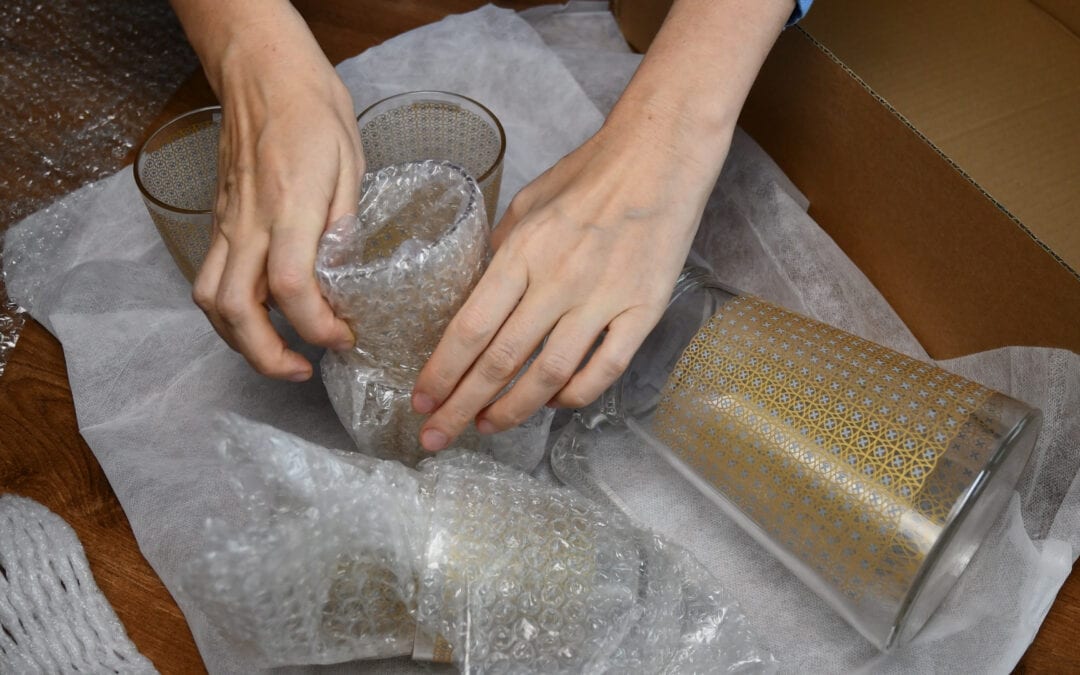
2. Cushion Your Most Prized Possessions
When packing fragile items, extra cushioning is crucial. The key is to prevent movement inside the box by using ample padding around each item.
How to Cushion Fragile Items:
- Choose Smaller Boxes: Use smaller, sturdy boxes for heavy yet fragile items. This prevents the box from becoming too heavy and difficult to handle.
- Use Padding Materials: Fill gaps with crumpled paper, Styrofoam peanuts, or bubble wrap. Clothing, blankets, and pillows can also serve as padding.
- Double Layering: Line the bottom of each box with additional padding for added protection.
Pro Tip: Repurpose household items like towels or soft fabrics as packing material to save money and space.
3. Choose the Right Box for the Job
Not all boxes are suitable for packing breakables. To avoid damage, always choose sturdy, heavy-duty boxes for fragile items.
What to Look For in a Box:
- Sturdiness: The box should hold its shape without collapsing or bending.
- Reinforced Edges: Use boxes with extra strength at the seams to prevent accidental openings.
Tip: Avoid using used or flimsy boxes for fragile items as they may not provide adequate protection.
4. Pack Balanced Boxes
Proper weight distribution is crucial when packing boxes with fragile items. Uneven boxes are harder to carry and more prone to being dropped.
How to Pack Balanced Boxes:
- Heaviest Items at the Bottom: Always place heavier fragile items at the bottom of the box and lighter ones on top.
- Cushioning Between Layers: Add padding between items to prevent them from knocking into each other.
- Even Weight Distribution: Aim to distribute the weight evenly across the box to prevent it from tipping over.
Pro Tip: Use plenty of tape to reinforce the box seams and keep the box secure.
5. Separate and Wrap Each Item
When packing multiple fragile items, it’s essential to wrap each one individually to avoid them touching and potentially breaking.
How to Wrap Fragile Items:
- Use Dividers: Cardboard dividers are excellent for separating glassware, stemware, and other small fragile items.
- Bubble Wrap: Wrap each item, including any loose parts, securely with bubble wrap or packing paper.
- Fill in Gaps: Make sure there’s no space for items to shift by filling in gaps with additional padding.
Tip: Don’t forget to wrap lids separately to prevent them from cracking or getting lost during the move.
6. Label Your Fragile Boxes Clearly
After securely packing your fragile items, make sure the boxes are clearly labeled to alert movers to handle them with care.
How to Label Fragile Boxes:
- Bold, Clear Labels: Use large, bright lettering to label each box with words like “Fragile” or “Handle with Care.”
- Label All Sides: Write the label on the top and all sides of the box to ensure it’s visible from any angle.
Pro Tip: Consider transporting your fragile boxes in your personal vehicle instead of the moving van for added safety.
Conclusion
Packing breakables for a move doesn’t have to be a stressful task. By starting early, using the right materials, and following these expert packing tips, you can ensure your fragile items arrive safely at your new home. Proper cushioning, balanced boxes, and clear labeling are key to protecting your valuable belongings from damage. Happy packing!